Welcome

Welcome to my blog. My blogging journey began about in August 2009 as a photo-a-day blog which has since transitioned to combine my love of good food and photography. Today, using as many local and fresh ingredients as we can, my boyfriend and myself spend time researching recipes, making our own adaptations, cooking, taking photos, eating, and finally reflecting on all or part of the above listed process here. I hope you take the time to not only read and look at our photos, but please cook some of the recipes yourself. You are invited and encourage to leave feedback as we continue our culinary journey!

Saturday, August 14, 2010

Sun-dried tomato, Olive, and Cheese Bread

For the first time last week I decided to try my hand at bread baking. And, if baking it myself, why not mix a few ingredients together that I love and put them in a bread? That's exactly what I did and it turned out fantastic.

Warning: This will be messy and messy recipes are hard to take photos of (especially when you are making them by yourself!). However, this recipe was great and you can expect a few more bread recipes in the upcoming months as I plan to try a few new types. I already have a request in for raisin pumpernickel.

Sun-dried tomato, Olive, and Cheese Bread
1/4 oz pkg dry yeast
1 cup warm water
4 cups bread flour
1 small can black olives
1/2 cup chopped sun-dried tomatoes
handful shredded cheese
1/2 tablespoon garlic powder
1/2 tablespoon salt
3/4 cup sour cream

Place the yeast in the hot water and set aside. Combine flour, garlic powder, salt, sour cream, and most of the olives and sun-dried tomatoes in a bowl.  Stir in the yeast mixture, and mix with your hands to make a consistent dough. Add the cheese and remaining sun-dried tomatoes and olives, and make sure the dough is well mixed and soft.

Place in a greased bowl and let it rise for 1.5 hours, turning once. Punch down, in a loaf pan, and let the bread rise again for about another hour. Bake at 350 degrees for 30-35 minutes.

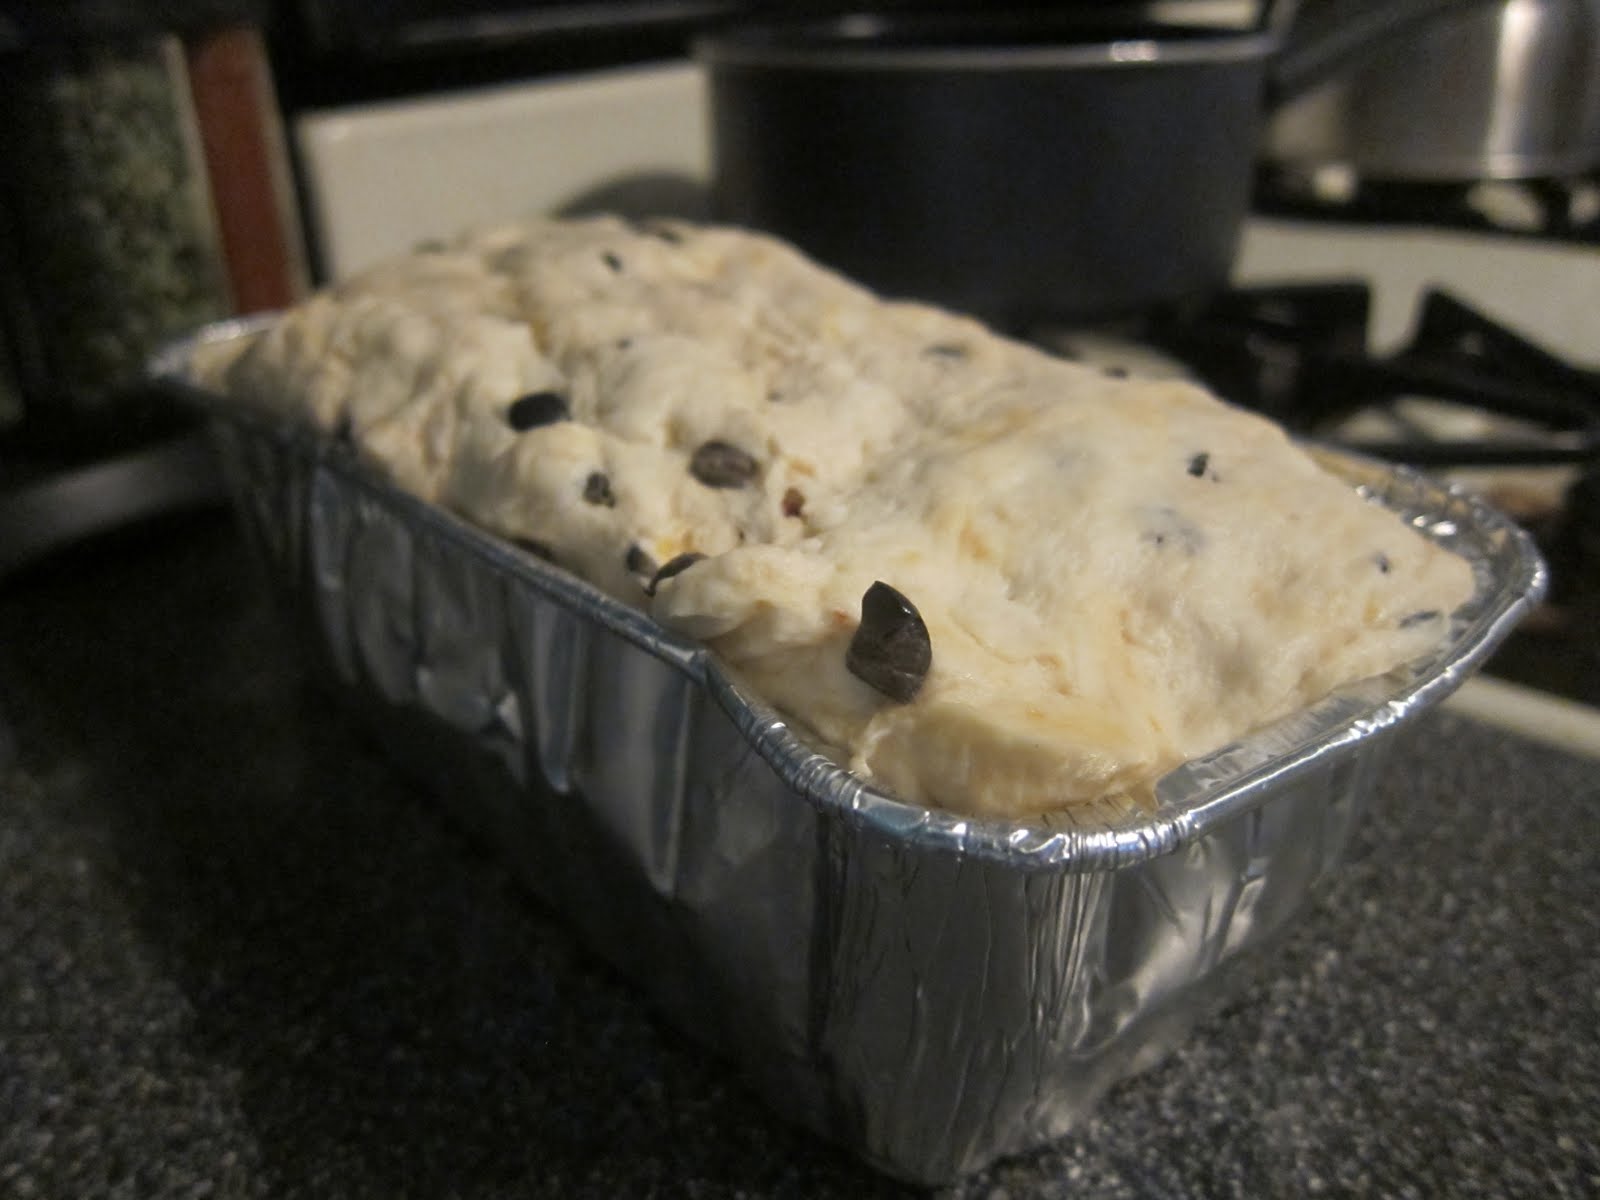
 (It was at this point that I really wish I had taken another photo. After the 1 hour rising time in the loaf pan, I came back to find the bread so huge it was practically exploding! Hilarious! Unfortunately, no photo, and I saved the bread)

Friday, August 13, 2010

Arroz a la Cubana

With Daniele in Japan, I had the opportunity to specialize in "meals for one". I enjoy cooking, but mostly when there are others around to eat my food. First of all, because I like someone else to taste my product, but also because it simply doesn't make sense to cook a difficult or time consuming meal for one person.

But, this meal is simple and still tasty, and in fact, was one of my Spanish host mom's specialties when I lived in Spain.

To make it, slice and fry a plantain in some olive oil. At the same time, cook a serving or two of white rice, heat up one can of tomato puree. You can use some red pepper flakes, black pepper, and salt to season the tomato puree if you prefer. Finally, fry two eggs.

On a plate, add the rice, top with tomato sauce and eggs, and eat the plantains on the side. Simple, and yet, nice for something different and good for a nice, vegetarian meal.

Wednesday, August 11, 2010

Broccoli and Anchovi Polenta

Nearly identical to our broccoli and anchovy pasta D and I made in June, we re-created the recipe except served with polenta. I think I prefer this over the pasta variety.

Polenta is an easy dish to cook, you will only need to follow the instructions on the package you purchase. The trick for serving polenta in the summer is to let it cool for a couple of hours in the fridge before serving in order to eat cold. Although, I admit in this instance that we became impatient and only waited 30 minutes before eating.


Monday, August 9, 2010

Zucchini Parmesan

While D was in Japan, I continued our cooking tradition and even experimented with a few new things while he was gone. Zucchini Parmesan was one of the new dishes I tried, and it was wonderful. I re-purchased the ingredients to cook again and serve to Daniele after he gets home (which is tomorrow!)

Zucchini Parmesian
1 large zucchini
1 large ball of mozzerella cheese
mushrooms
1 medium sized tomato
tomato puree
spinach
salt
pepper
onion
garlic clove
olive oil
white cooking wine

To prepare, chop the onions and garlic clove. Heat oil in a pan, and when hot, add the onions and garlic clove. Cook for about 10 minutes. In the meantime, prepare the other vegetables. Chop the tomato, mushrooms, and spinach. (These items are not necessary for this recipe, but were a nice addition. I had them around the house, so I used them). Also slice the zucchini into horizontal strips.

After the onion and garlic has cooked for about 10 minutes, add the zucchini to the pan. Cook for 5-10 more minutes before adding the tomato, mushroom, and spinach. Also add salt and pepper to taste, and a touch of white cooking wine. The mixture will need to cook about 5 more minutes, and while it finishes up, you can chop the mozzerella into cubes.

In a pyrex, or oven-safe) dish, place the spinach, tomato, mushroom, onion and garlic mixture in a thin layer. Then, lay the zucchini on top. Pour tomato puree on top of the mixture generously, and finally, sprinkle the fresh mozzerella cheese. Preheat the oven to 350 degrees and bake for about 20-25 minutes, or until cheese is melted.

This is a simple, easy dish that I think anyone would enjoy.

Sunday, August 8, 2010

Birthday

July 27th I celebrated my 27th birthday. What better way to celebrate than with great food?

The evening of my birthday D and I celebrated with all-you-can-eat sushi:


And last weekend I visited with my family in Columbus, Ohio and my brother baked a white chocolate/dark chocolate cheesecake with black raspberry preserves:


Both were incredibly tasty. I've got some great entries coming up....last week I made some zucchini parmesian, and today I plan on trying my hand at baking my own bread (assuming I am able to find a loaf pan). Tomorrow D returns from Japan and I will make some chicken enchiladas for his welcome home dinner. So, don't worry, I will keep everyone updated as to the tastiness that is taking place in my apartment walls.

Friday, August 6, 2010

Fresh Pita and Cucumber Sauce

Today we have our first ever guest post from my friend, Emily of Candy Calamity. She is a great cook, baker, and artist. You can follow her blog here.

The recipe looks great. I can't wait to try it myself: 

Hi Churros Con Chocolate readers!!!  I’m nuts about flatbreads (focaccia, naan, pita, Chinese onion pancakes, and tortillas to name a few favorites) and I’m so glad Laura is letting me share this recipe with you, because it is way easier to make fresh pitas than I thought it would be.  Plus they are amazing with cucumber sauce which is perfect to cool down on a hot summer day.

Fresh Pita and Cucumber Sauce
Make the cucumber sauce first (it’s recommended to let it sit overnight – but I never have the patience for that).  You will need:
1 cucumber
1 cup plain yogurt
1 clove garlic, minced
lemon juice

Start by peeling the cucumber, slice in half lengthwise and scoop out all the seeds.  Grate the cucumber halves into a bowl.  The secret to nice thick sauce is to get as much water out of the cucumber as possible.  Hold the pulp in your hand and squeeze it so the water can drain, you can also pat it dry with paper towels.  Once the pulp is ready, stir in the other three ingredients and let sit in the fridge while you work on the pitas.

I adapted my pita recipe from http://www.thefreshloaf.com/recipes/pitabread
You will need:
1 ¼ cups warm water
1 T sugar
1 pkt active dry yeast (2 tsp)
2 T olive oil
A pinch of salt
1 cup spelt flour
2 cups bread flour

Add the sugar and yeast to the water and set it aside for a few minutes so the yeast can activate and grow.  In your mixing bowl measure the spelt flour, the salt and one cup of the bread flour.  With the mixing attachment, mix in the water yeast mixture and the olive oil.  Slowly add in the last cup of bread flour (more or less as needed) until the dough forms a ball and stops sticking to the sides of the mixer.  Switch to the dough hook and knead for 10 minutes (or knead by hand).  Set the dough aside in a greased bowl, covered with plastic wrap or a damp kitchen towel.  Let rise for 1 hour.

Punch the dough down and divide into 12 pieces.  Roll the pieces into balls and re-cover with the damp cloth.  Let rest for 10-20 minutes.  Preheat the oven to 475 degrees.  If you have a baking stone put it into oven while it warms up.

Roll out the dough into circles no more than ¼ inch thick (too thick and they will not poof in the oven).  Place as many as can fit on the baking stone or a cookie sheet with out touching.
Bake the pitas for 5 minutes.

Enjoy!


Monday, August 2, 2010

Sausage, Rice, and Tomato Dish

D and I had a yellow pepper in our fridge that was about to go bad. So, what did we do? Find a way to use it.

Sausage Rice and Tomato Dish
1 Polish or Italian Sausage
1 Tomato
1/2 jar tomato puree
1 yellow bell pepper
1/2 onion
1 garlic clove
olive oil
salt
oregano
pepper
2 servings rice

Begin by cutting the tomato, yellow pepper, and onion into small pieces. In a pan, heat up some olive oil and then add the onion and garlic clove. After cooking for about 5 minutes or so, add the yellow bell pepper. Take the outer skin off of the sausage, and when the vegetables are soft, add and cook the sausage meat to the mixture.

While everything is cooking, begin preparing the rice. When the sausage is nearly cooked, add the cut tomato to the sausage, yellow pepper, and onion mixture. Also add 1/2 jar tomato puree and salt, oregano, and pepper to taste. Let the tomato sauce cook in the mixture for at least 10-15 minutes. When the rice is cooked, pour the rice in and mix together.


And, feel free to enjoy the leftovers for breakfast with a fried egg on top!